Monthly Archives: March 2013

Dark Chocolate Quinoa Cupcakes

DSC_0078

This is the first time I have ever made something like this…and it was DELICIOUS!!!  Yes you read correctly, delicious….I recommend this one big time, the cake is very chocolaty and moist and it smells heavenly baking!!

So today I took on an adventure into an area of cooking I have never been before, it’s called a Raw food diet and one of my fellow co-workers is a follower and it’s her birthday.  Never to be one not to enjoy a challenge I took on the task of cooking a raw cake….and really it wasn’t so bad.

Firstly I decided to do some reading up on what a Raw diet is.  The raw food diet is based on the belief that the most healthful food for the body is uncooked. Although most food is eaten raw, heating food is acceptable as long as the temperature stays below 104 to 118 degrees Fahrenheit (the cutoff temperature varies among those in the raw food community).  This worried me a bit thinking ok…this birthday cake is not going to be cooked…hummmm…how do I manage that.  Fortunetly with some probing I discovered there are different “levels” of raw food eating and this person eats organic, natural foods in their raw state, however, has no issue with cooking these foods and baking…..so the game was back on….yippee.DSC_0071

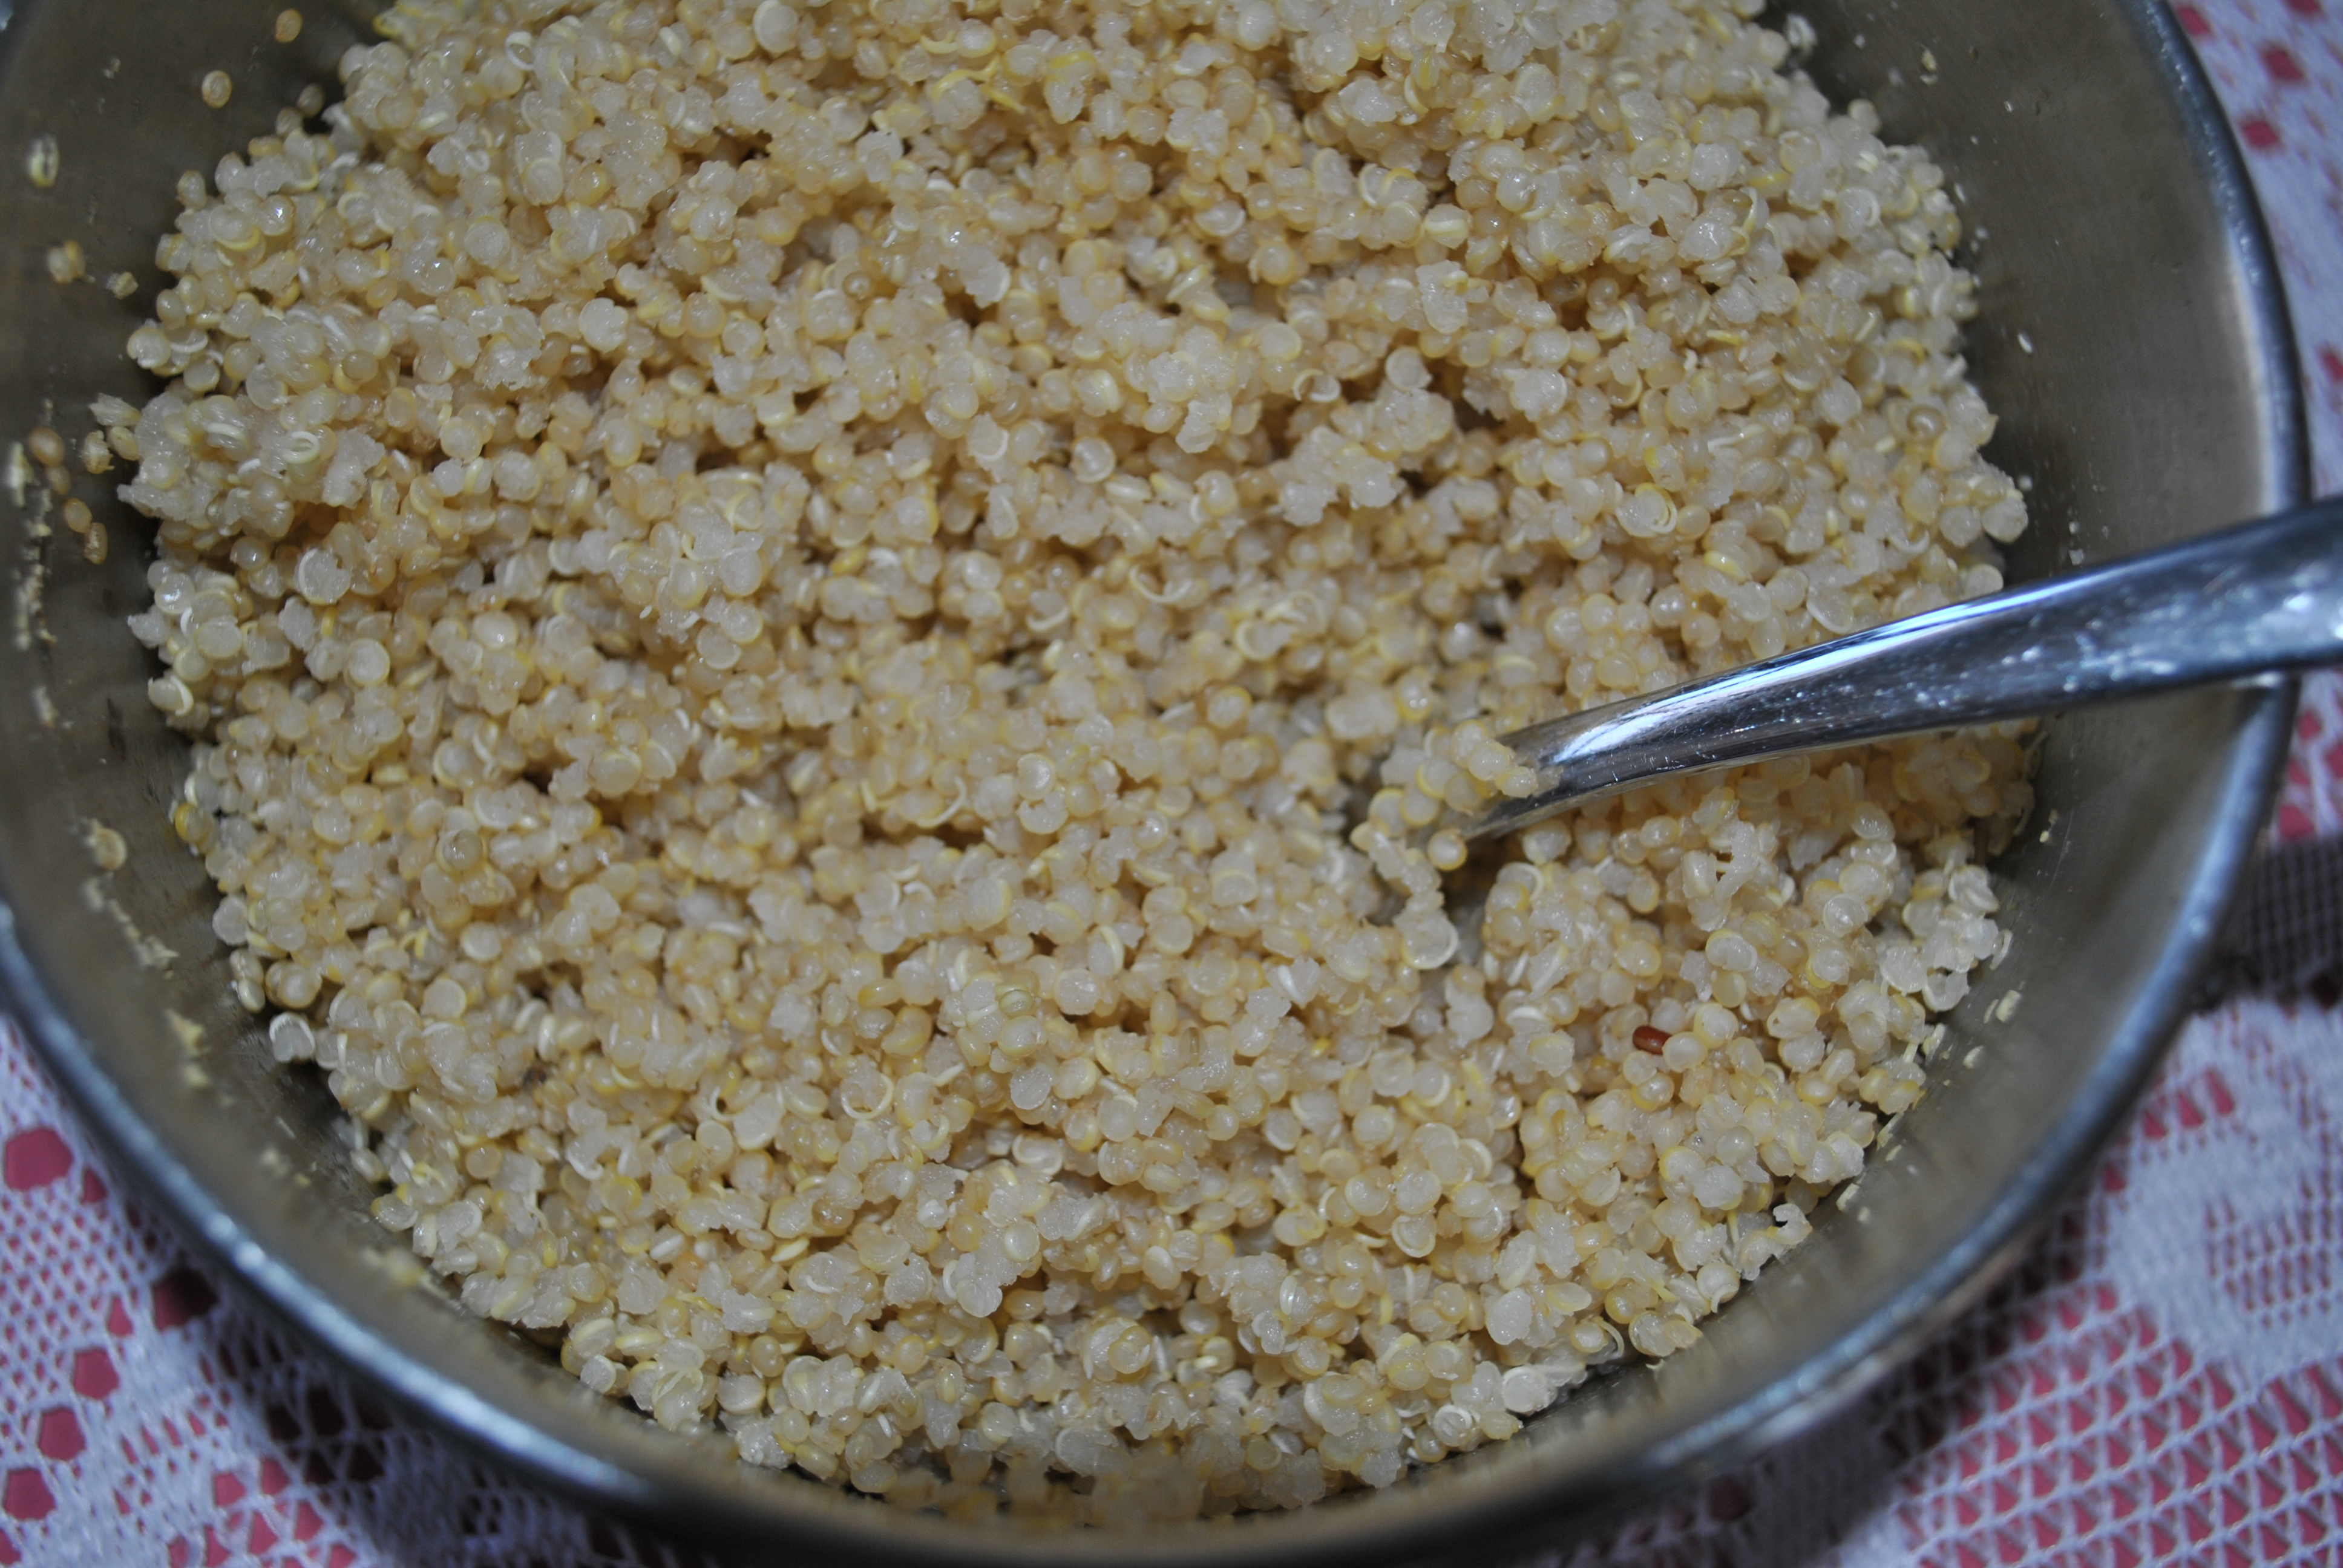
Now everyone deserves a decadent chocolate birthday cake and that is what I went after….much googling later this is the recipe I ended up using.   I will, not so shamefully, admit I did try the batter, it was good.  Very chocolaty and smooth, not as smooth as cake batter from a box but I don’t think that was the aim.  The smell of them cooking was heavenly…..mmmmmMMMMM.  I don’t have a blender…sadly, so I ended up using my hand-held mixer.  It seems to have done the job.

BEST EVER QUINOA CHOCOLATE CUPCAKES
adapted from Quinoa 365:  The Everyday Superfood
Makes 12 large scrumptious cupcakes
  • 2 cups cooked quinoa, cold (see note below for instructions to cook quinoa)
  • 1/3 cup organic almond milk
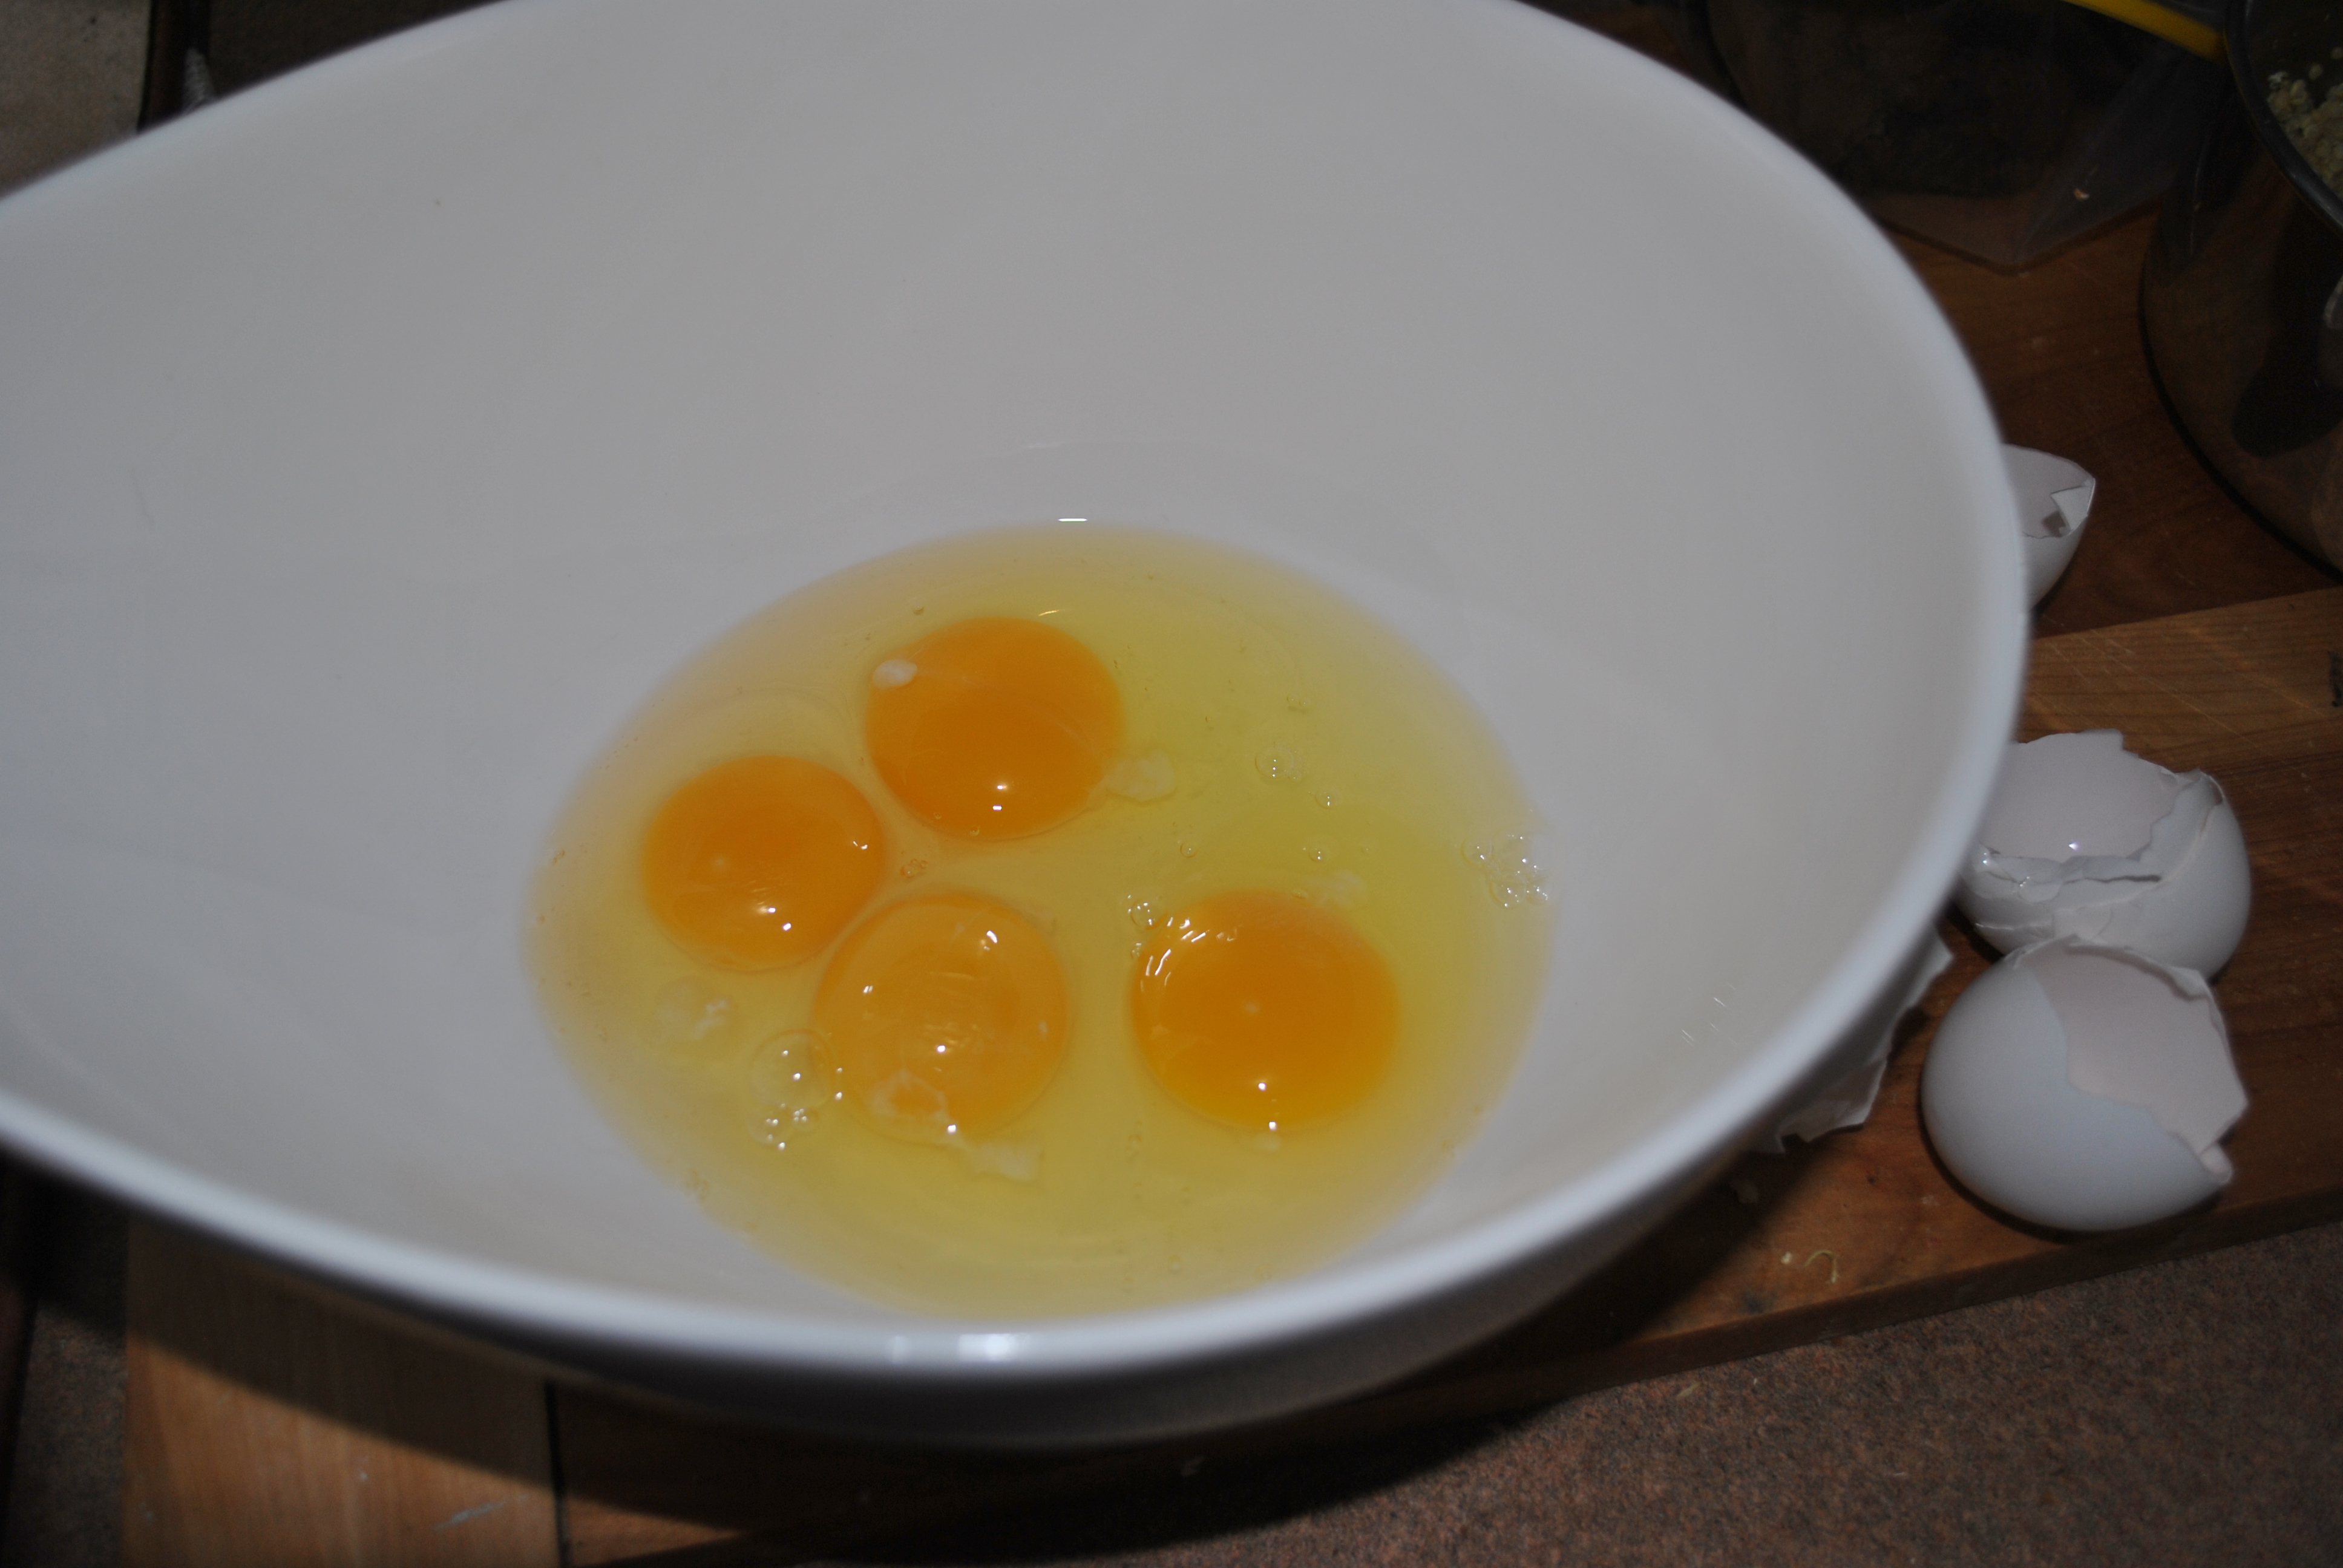
  • 4 large eggs
  • 1 tsp pure vanilla extract
  • 3/4 cups vegan butter, melted and cooled
  • 1 1/2 cups organic cane sugar
  • 1 cup unsweetened cocoa powder
  • 1 1/2 tsp baking powder
  • 1/2 tsp baking soda
  • 1/2 tsp salt
DSC_0072*1 muffin tin (large cups, large cupcake liners) with 12 wells.
  1. Preheat the oven to 350 degrees F.  Line the muffin tin with the 12 large-sized cupcake liners.
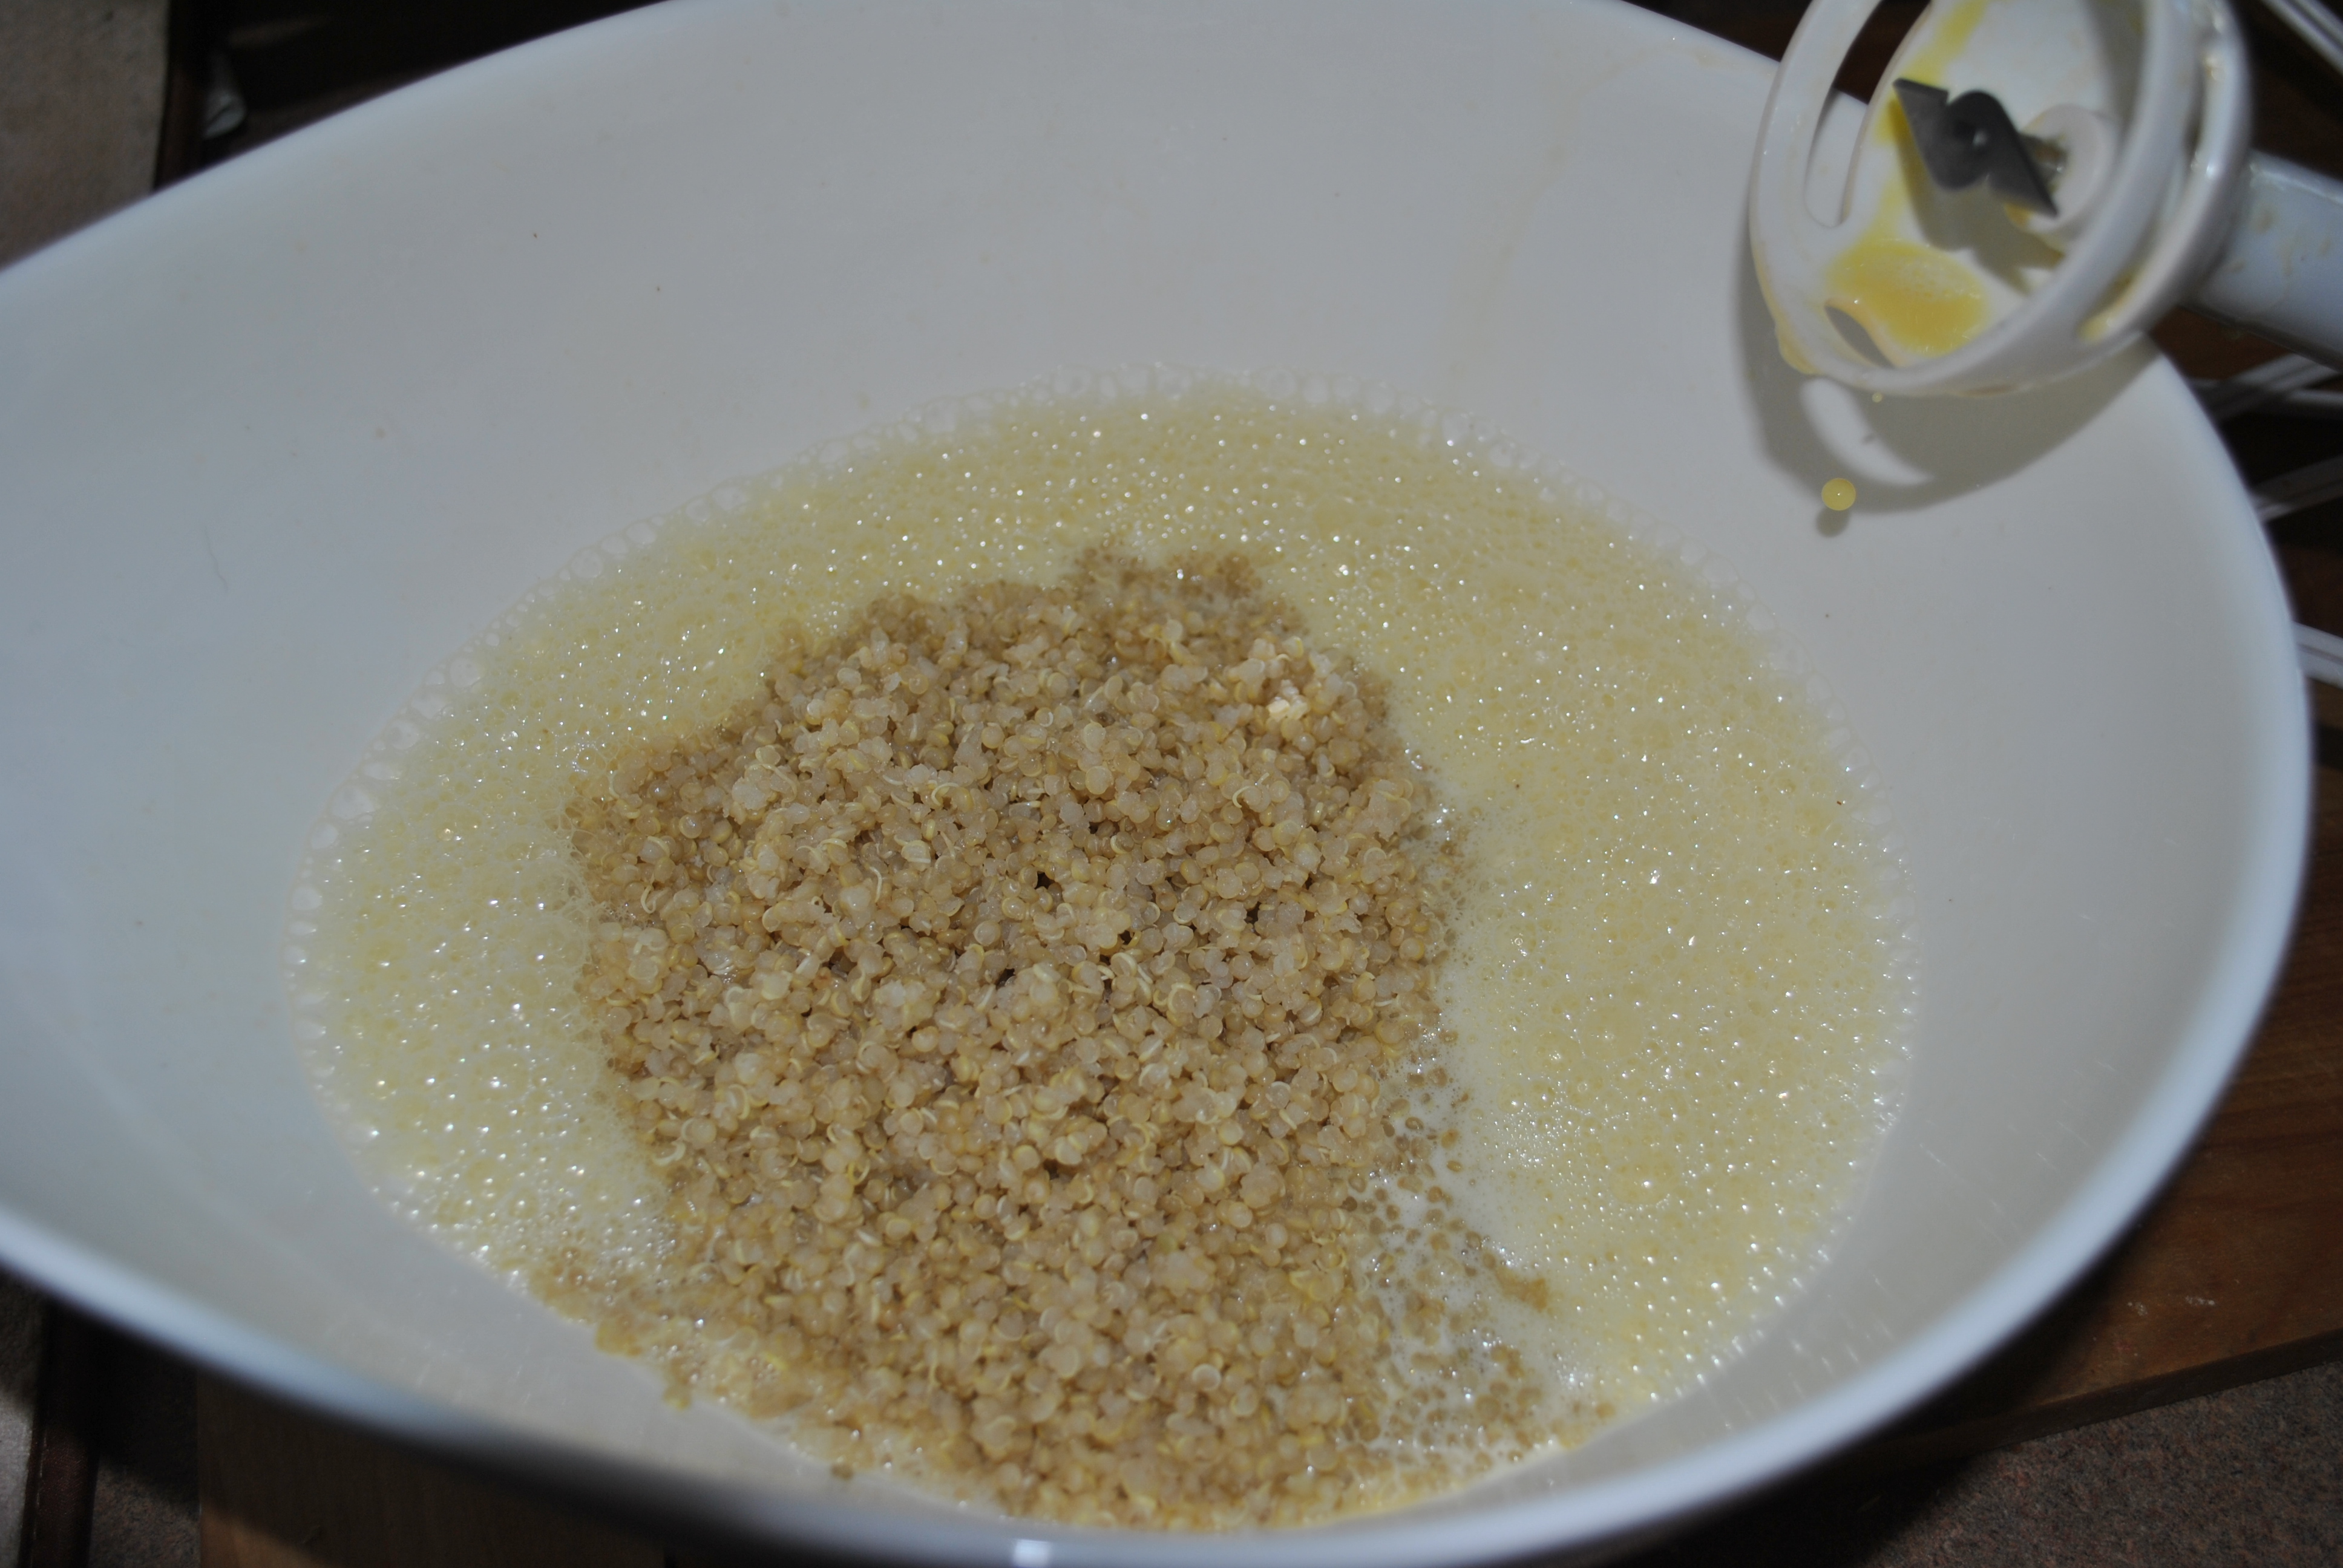
  2. In a Blender of Food Processor, combine:  milk, eggs, vanilla.  Blend until combined.  Add 2 cups of cold cooked quinoa and the melted butter and continue to blend until smooth.
  3. Dump in the sugar, cocoa, baking powder, baking soda and salt into the blender.  Blend well to combine.
  4. Pour from the blender directly into the cupcake liners, evenly distributing the cupcake batter between the 12 liners.  Gently tap the tin on the counter to ensure there are no air bubbles.  Smooth the tops with a small spatula (or your finger!)
  5. Bake in the centre of the oven for approximately 30 minutes.
  6. Test the cupcakes for doneness with a toothpick or cake tester.
  7. Allow to cool for 5 minutes.  Remove from the pan and allow the cupcakes to cool completely on a rack.
  8. Cupcakes can be stored sealed in the refrigerator for up to 1 week or freeze for up to 1 month.  But I don’t think they’ll last that long.
Note:  Bring 2/3 cup raw, rinsed white or golden quinoa to boil in a heavy saucepan with 1 1/3 cups water.  Cover, DSC_0073reduce to simmer and cook for 10 minutes.  Turn off heat and leave covered saucepan on burner for another 10 minutes.  Fluff with fork and allow the Quinoa to cool.
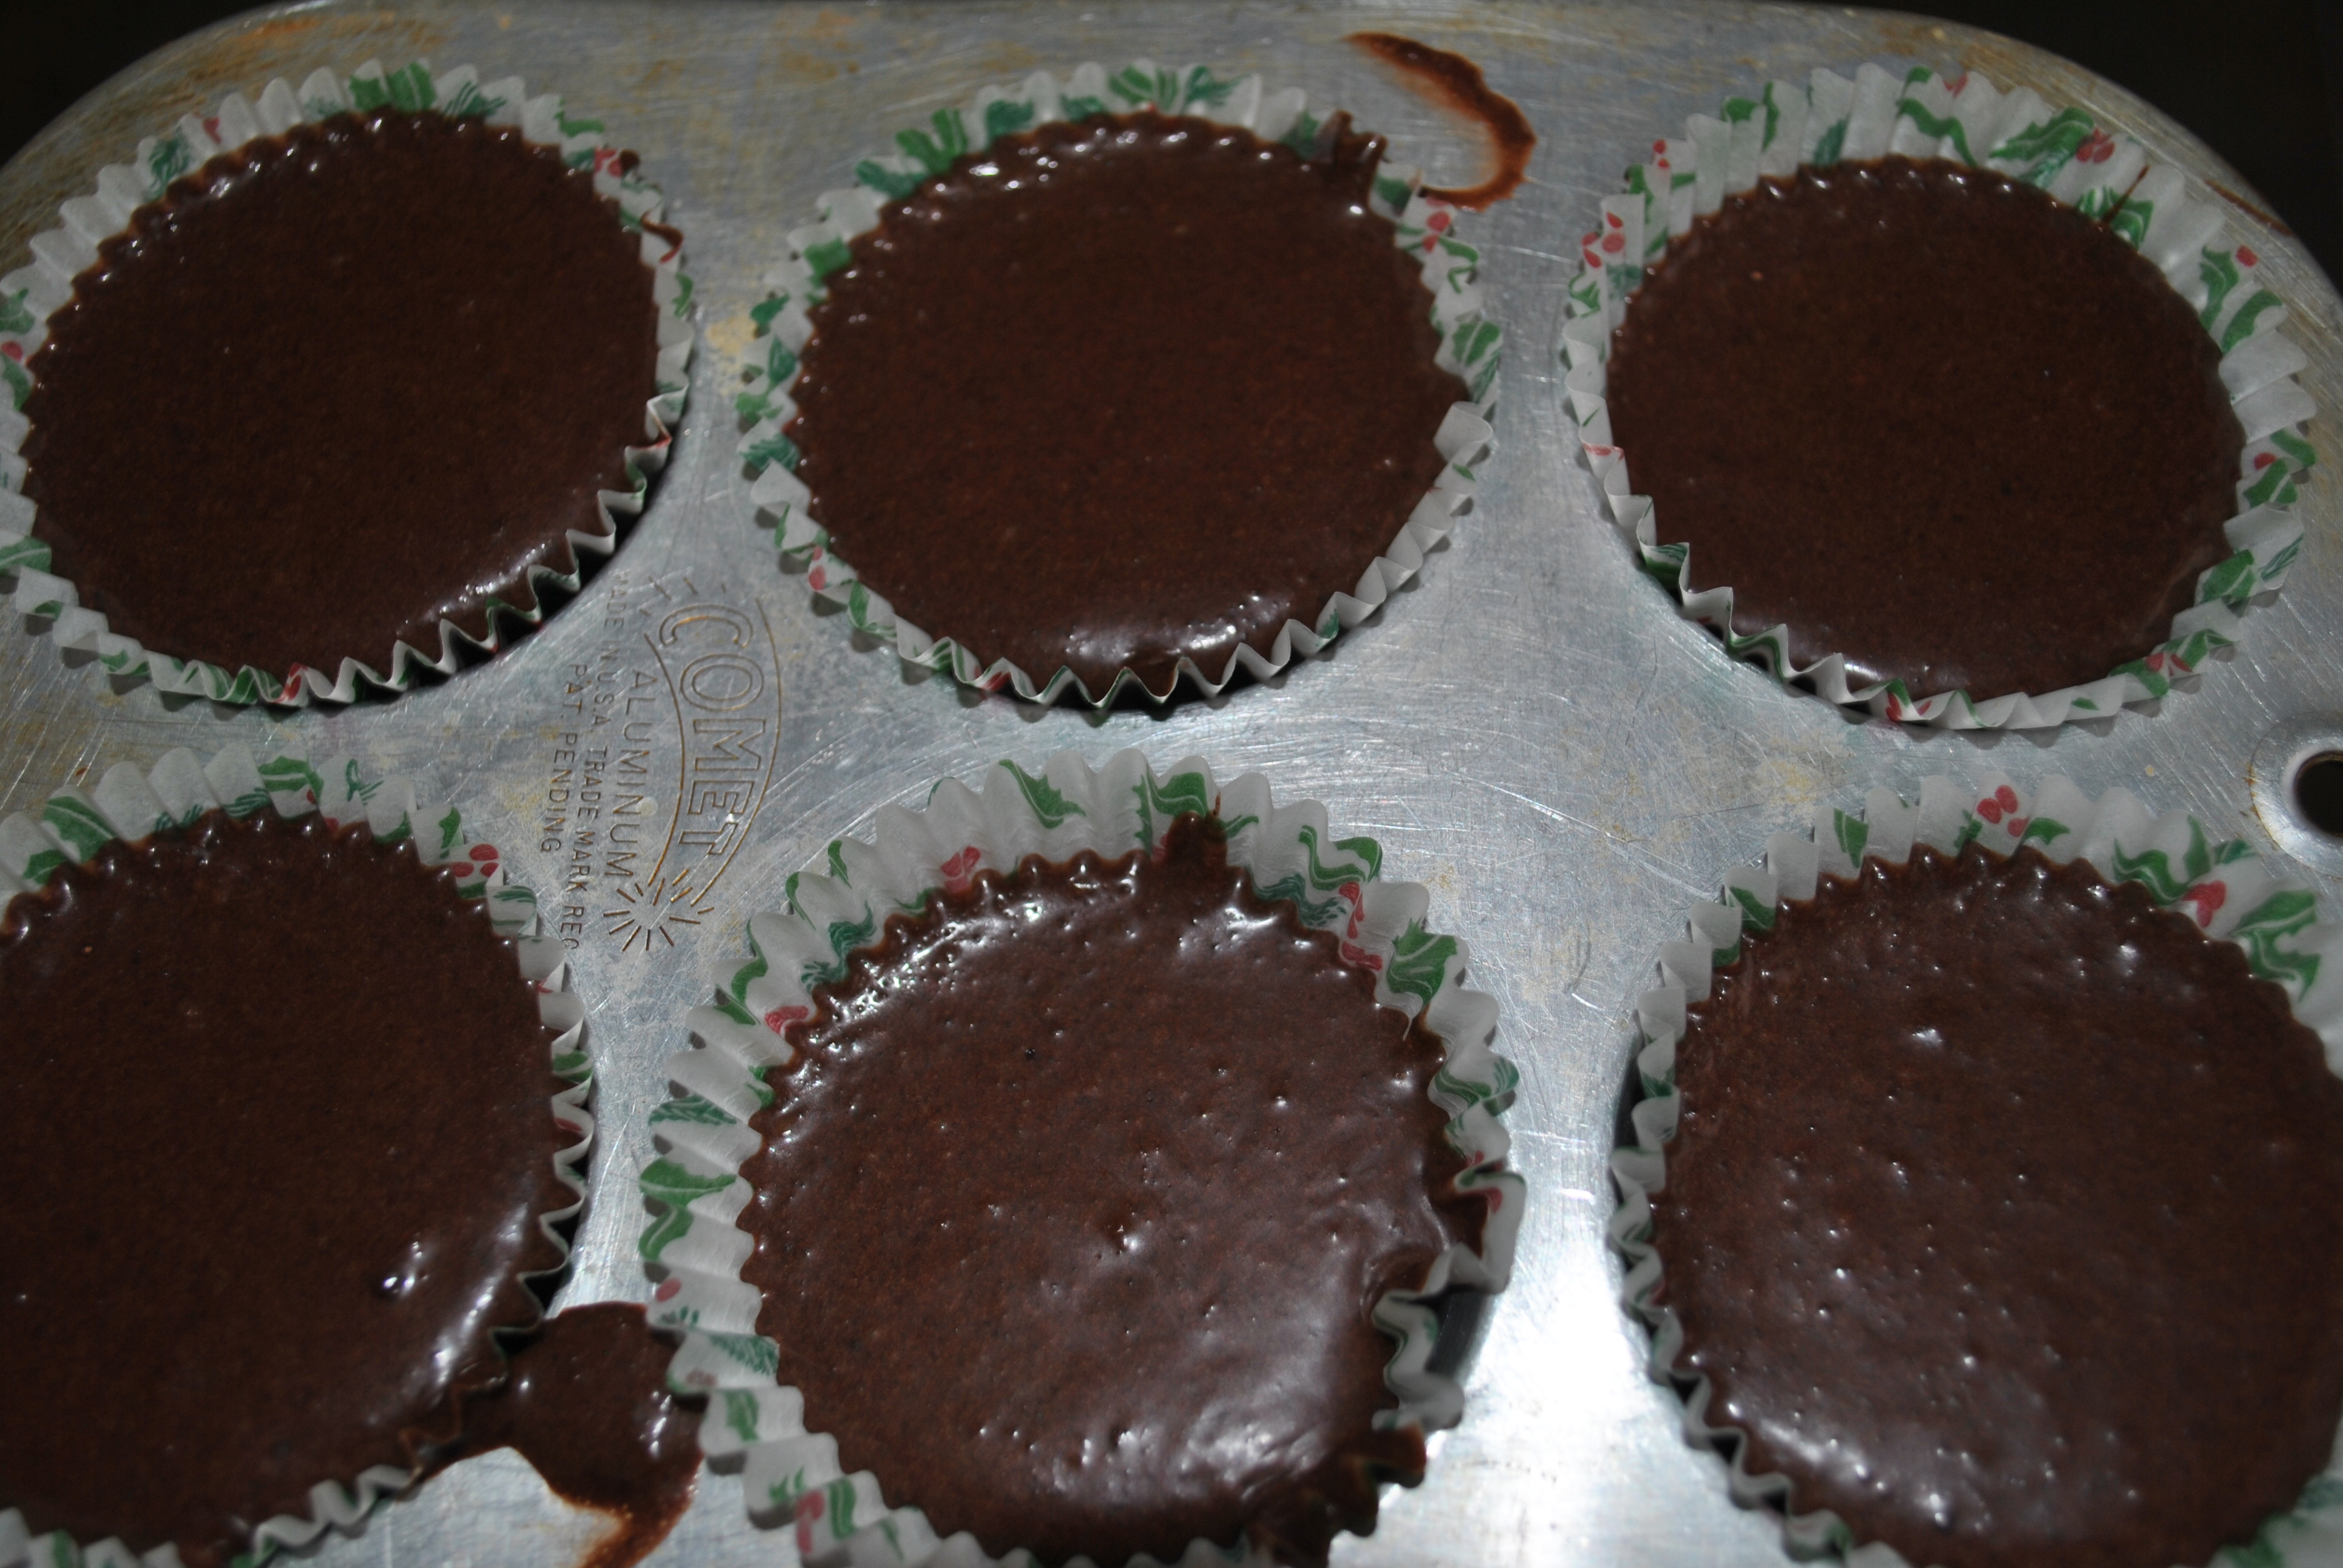
Now every chocolate cupcake needs some frosting, this one came from another co-worker who is a vegan.  This just blew my mind…..coconut milk whippped like a whipping cream….how cool.  I did try it, not all that impressed with it.  My coconut milk although it was firm and waxy was not smooth and creamy.  It came out of the can flaky and no matter how much I whipped it, it didn’t cream.  It wasn’t bad tasting but was lumpy and not fluffy at all.  But give it a try, you may have more success.
DSC_0074
Whipped Coconut Cream.

What You Need

Ingredients
One 15-ounce can full-fat coconut milk
1 tablespoon cane sugar or more to taste (optional)
1 teaspoon vanilla or more to taste (optional)

Equipment
Large bowl
Hand beaters or a stand mixer (put in freezer for about 1 hour before whipping)

Instructions

1. Place the can of coconut milk in the refrigerator and leave it there until well-chilled; I left mine in overnight.

2. Turn can upside down and open the can of coconut milk. There will be a water layer on top, drain into a bowl or cup. DSC_0075 You will then find a  firm, waxy layer.

3. Scoop out this firm layer coconut cream that has solidified.  Don’t include anything but the solid cream. (You can use the water in smoothies, or just drink it straight.)

4. Place this cream in the bowl of a stand mixer, or a large bowl.

5. Turn your mixer or hand beaters to high speed, and whip the coconut cream for 3 to 5 minutes.

6. Whip until it becomes fluffy and light, with soft peaks. Mix in sugar or vanilla, if using.

I have to say after spending so much time researching the raw food diet and seeing all the amazing recipes out there that are not just raw food but vegan and vegetarian, I think I will be incorporating many of them into my every day eating more and more.  It is much easier than I thought to cook/eat, I have even saved to my favorites several blogs and recipe sites that just brim with amazingly healthy delicious looking foods.   Luckly Gargantua was a vegetarian for many years and is more than willing to support these eating styles and try all the wonderful dishes that are to come!
Enjoy, Bubblicious.
DSC_0077

after the food dont forget the zzzzzzzz siesta zzzzzzzz

DSC_0001


free make up cod…

DSC_0064DSC_0066

this  stuff is just delicious, now I understand why the Europeans  came across the Atlantic to catch it…..I like it all…..pil pil like the Portuguese do it…I’ll have to make that one day and post it for you.


Glazed Pears

bonomme carnaval-home marco 059bonomme carnaval-home marco 050

TRES FACILE ,,POIRES TRES MURE, LES FAIRES MIJOTTER DANS L EAU

AJOTER DE LA CANELLE ,MUSCADE OU  AUTRE CHOSES ,RES BON LES SOIR

D HIVER,,,,,,,,,,marco


TRUITES AU CITRON

bonomme carnaval-home marco 058bonomme carnaval-home marco 044

ILS ES DIFFICILE PAS FAIRE DES BONNE TRUITES


I WENT TO SEE A MAN ABOUT GETTING FRESH FISH

UNE BELLE JOURNEE, ET DU POISSON FRAIS , UN DE MES POISSON FAVORIE

CETTE ANEE J EN PROFITE PLUS ,UN POISSONS LOCAL. COMME ON L APELLE CHEZ NOUS DES   ZEPLANS,   MAIS EPERLAN ES CORRECT..LOLbonomme carnaval-home marco 102bonomme carnaval-home marco 101


Grilled Cheese Goodness….It isn’t just for lunch anymore

IMG_0026

 I was a very pampered man this morning, I was met with the most delicious…if a bit unusual, breakfast this morning. 

You see, Bubblicious, has the most delicious, huge square of extra old cheddar that I’ve been enjoying.  It is one of the BEST cheddar cheeses I’ve tasted in a very long while…scrumptious!  Knowing this she created this delicious breakfast for me.

Butter a slice of bread place butter side down in a frying pan, add cheese.  The cheese is sliced thinly but piled on each slice of bread a good 2-3 thin slice deep.  Top with another buttered piece of bread.  To switch it up a bit, Bubblicious made one of the sandwiches with a slice of salami….added a nice taste to the ooey gooey cheese.  Grill over low heat until the cheese is melted and the bread is golden brown.  For those who wonder what type of cheese was used….ADL extra old cheddar.

Add fresh sliced tomato with a hint of salt and some orange slices and you have a breakfast….or at least I had a delicious breakfast….mmmmmMMMMM.

I heard a rumor she’s making a tomato basil soup tomorrow…..what are the chances I’ll get a delicious bowl of soup to go with some more of these amazing sandwishes?!?!?!  I sure hope good!!!

Gargantua


Spanish Tortilla

IMG_0023

I’ve been meaning to make this for Bubblicious since Christmas.  It is her absolute favorite tapas and at any special occasion if I ask what special dish she would like…this is her first pick….and there is definitely a reason for that!

The tortilla Espanola or Spanish omellet is the most commonly served dish in Spain. Essentially the Spanish tortilla is like a potato omelette.   If you find yourself in Spain some day, around 3pm the delicious aromatic smells of this tortilla cooking will be wafing from the doors and windows of each family home.   It is eaten as a tapas in many of Spain’s bars and grills, however, it is also commonly eaten as a meal in Spanish homes.

I was very blessed to spend 23 years living in Spain and this is a dish I brought back with me and still make.  It’s a bit finicky, but worth it.

IMG_0024

Ingredients:

  • 6-7 medium potatoes, peeled
  • 1 whole yellow onion
  • 5-6 large eggs
  • 2-3 cups of olive oil for pan frying
  • Salt to taste

Cut the peeled potatoes in half lengthwise. Then, with the flat side on the cutting surface, slice the potato in pieces approximately 1/8″ thick. If you slice them a bit thick, don’t worry – it will simply take a bit longer for them to cook.

Peel and chop the onion into 1/4″ pieces. Put potatoes and onions into a bowl and mix them together. Salt the mixture.

In a large, heavy, non-stick frying pan, heat the olive oil on medium high heat. Carefully place the potato and onion mixture into the frying pan, spreading them evenly over the surface. The oil should almost cover the potatoes. You may need to turn down the heat slightly, so the potatoes do not burn.

Leave in pan until the potatoes are cooked. If you can poke a piece of potato with a spatula and it easily breaks in two, your potatoes are done. Remove from the pan with a slotted spoon or spatula and allow oil to drain.

Crack the eggs into a large mixing bowl and beat by hand with a whisk or fork. Pour in the potato onion mixture. Mix together with a large spoon.IMG_0025

Pour 1-2 Tbsp of olive oil into a small, non-stick frying pan (aprox. 9-10”) and heat on medium heat. Be careful not to get the pan too hot because the oil will burn – or the tortilla will! When hot, stir the potato onion mixture once more and “pour” into the pan and spread out evenly. Allow the egg to cook around the edges. Then you can carefully lift up one side of the omelet to check if the egg has slightly “browned.” The inside of the mixture should not be completely cooked and the egg will still be runny.

When the mixture has browned on the bottom, you are ready to turn it over to cook the other side. Take the frying pan to a sink. Place a large dinner plate (12”) upside down over the frying pan. With one hand on the frying pan handle and the other on top of the plate to hold it steady, quickly turn the frying pan over and the omelet will “fall” onto the plate. Place the frying pan back on the range and put just enough oil to cover the bottom and sides of the pan. Let the pan warm for 30 seconds or so. Now slide the omelet into the frying pan. Use the spatula to shape the sides of the omelet. Let the omelet cook for 3-4 minutes. Turn the heat off and let the tortilla sit in the pan for 2 minutes.

Slide the omelet onto a plate to serve.

Hope you enjoy it as much as Bubblicious does!

Gargantua